Showing posts with label Picture. Show all posts

Saturday, March 1, 2014

Wow…This has been hell

BLOG_ISee1_thumb3

This is the schedule I said I was going to use the last time I posted about this piece.

Ramp Target Hold (in minutes)
FULL 960 100
50 800 30
75 700 30
100 100 0

Well…the cool down schedule wasn’t slow enough.  It ended up cracking again in a different location.

BLOG_shock1

Sorry,,,don’t have any pics but it ended up splitting up into two pieces. The split ran vertically just to the right of the dichroic figure and to the left of the pot melt. I think it occurred because the glass was thinnest in the area that I had to fill in with frit and cooled unevenly.  I used an even more conservative cool down schedule and I think this time it did the trick.

Ramp Target Hold (in minutes)
FULL 960 100
50 800 30
50 700 30
50 100 0

BLOG_shock2

BLOG_shock3

BLOG_shock4

BLOG_shock5

Monday, February 17, 2014

You probably don’t want to forget this step…

Normally after I put kiln wash on a shelf I put it in the oven and let it bake 200 degrees for an hour and then bump it up to 500 for 15 minutes or so to get all the moisture out.  On this occasion I forgot to put a timer on and it ended up baking at 200 degrees for a couple of hours.  I figured this was enough, let the shelf cool down again and then used it a few hours later to tack fuse this project.
BLOG_bubble1
The failure to bake it at 500 degrees turned out to be a mega fail.
BLOG_bubble2
BLOG_bubble3
OUCH!
I figured I could fix it by drilling a hole in the bubble and then taking the piece to slumping temperature.  I flipped it upside down and filled the depression with water.  I cut the hole using a 1/8 inch carbide tipped glass bit and a Dremel moto tool.
BLOG_bubble4
BLOG_bubble5
Of course one hole wasn’t enough for me.  I was being a bit paranoid and tried drilling a second one because I was worried that the hole would seal up as the glass settled and I’d still be left with a bubble.  The first hold drilled clean. The second one not so much.
BLOG_bubble6
But this doesn’t necessarily bother me either since I had planned on putting a layer of colored frit on top and then doing a contour fuse.  I’ll just fill the hole in with frit. Unfortunately the small cracks pictured here weren’t content on staying “small” and grew to split the piece in half.  I’m still pretty confident that I can salvage it and fuse it back together.  The lesson here is you want to make darn sure you’ve got all the moisture removed from your shelf before firing something like this.
Dang! This smarts though…

Wednesday, January 29, 2014

An Art Show Piece

Here’s the latest piece that will be on display at the Lincoln Artists Guild show at Out of the Box.

BLOG_OutofTheBox3

BLOG_OutofTheBox2

BLOG_OutofTheBox1

My main regret about this pieces is that one of the “points" is a bit cut off.  That’s how it kind of came out of the pot melt ring and it’s also due to a near disaster I had with this melt. I had a different border on it that didn’t turn out and I had to cut it off and replace it with the mosaic (and that was quite a nerve wracking piece of surgery).  Hopefully everybody will be razzle dazzled by the colors.  Smoke and mirrors ya know…

Thursday, January 9, 2014

Now that was a fail (but redemption draweth nigh…)

The idea started out innocently enough.  I wanted to do another piece for the artists guild and decided to use the most eye poppingly colorful melt I had done and mount it in a 12 X 12 inch picture frame.  The plan was to add a border, tack fuse the piece on to a 3mm piece of clear glass and put the entire piece into the fame. 

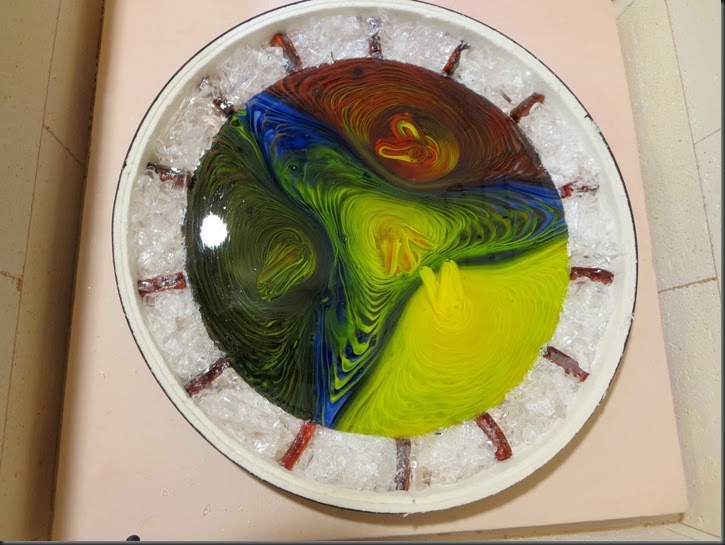
I wanted to do a clear border and have pieces from another melt radiate out sort of like spokes on a wheel.  I picked out some clear glass from my hoard of blown glass and washed the pieces thoroughly.  Some of the chunks  were pretty big so I decided to break them up using a home made frit maker (I got the idea from a post on a glass forum).  now some of the glass was crushed into to small frit and I added some of that as well.  At the the time all the frit looked clean to be but as the cliché goes “appearance can be deceptive”.
BLOG_FailGood1

Well the spokes didn’t melt (or look) like I thought they would and there were tiny dirty bubbles scattered throughout the border.  Pretty nasty looking!

BLOG_FailGood2

BLOG_FailGood3

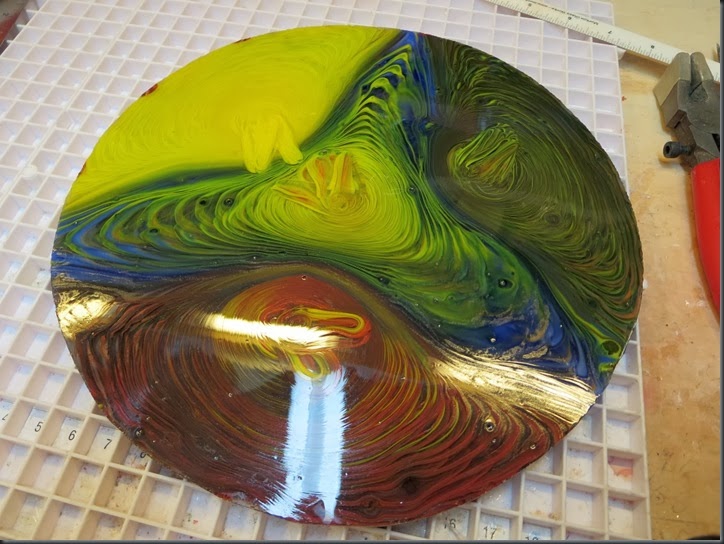
After a brief expletive laden moment of fear, loathing, and panic I determined my best shot as salvaging the melt was to cut off the border using my glass cutter.  It was a little nerve racking but it wasn’t that hard to do. 

BLOG_FailGood4

The pieces from the border ended up in file 13.  Here’s the piece after I ground the border.
BLOG_FailGood5

I ended up going with the same collage border I had been recently using for some plates.

BLOG_FailGood6

I think the results are a lot better!

BLOG_FailGood7

BLOG_FailGood8

So what happened with my frit maker.  Well when I read about it on a forum the idea sounded simple enough.  The frit maker consists of two pieces of galvanized pipe; one two inches in diameter with a cap on the end and a longer piece one inch in diameter also with a cap on the end. I put the glass in the bigger pipe and use the smaller pipe to crush the frit.  After re-reading the post, I see forgot to perform one step: I should have used a magnet to remove the bits of steel that got dislodged from the pipe during the crushing process.  That’s what made the frit “dirty”.  At least this explanation sounds good to me.

Oops!

Blogger Labels: Pot Melt,guild,glass,bubbles,plates,magnet,artists,frit maker